3D technologies for production
From the first days of work, the ULTRATEC Department of Enter Engineering has been betting on high-tech processes that ensure accuracy and speed in the creation and restoration of parts.

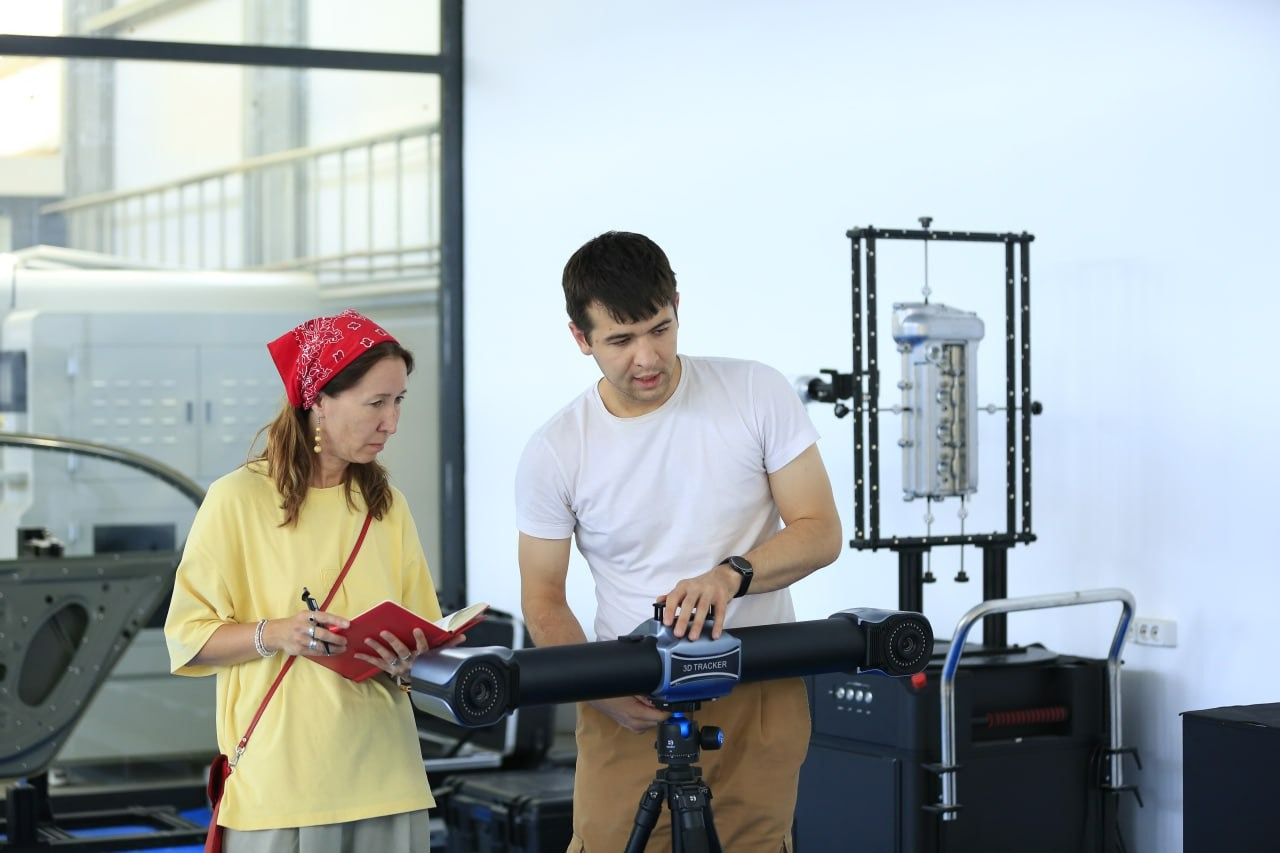
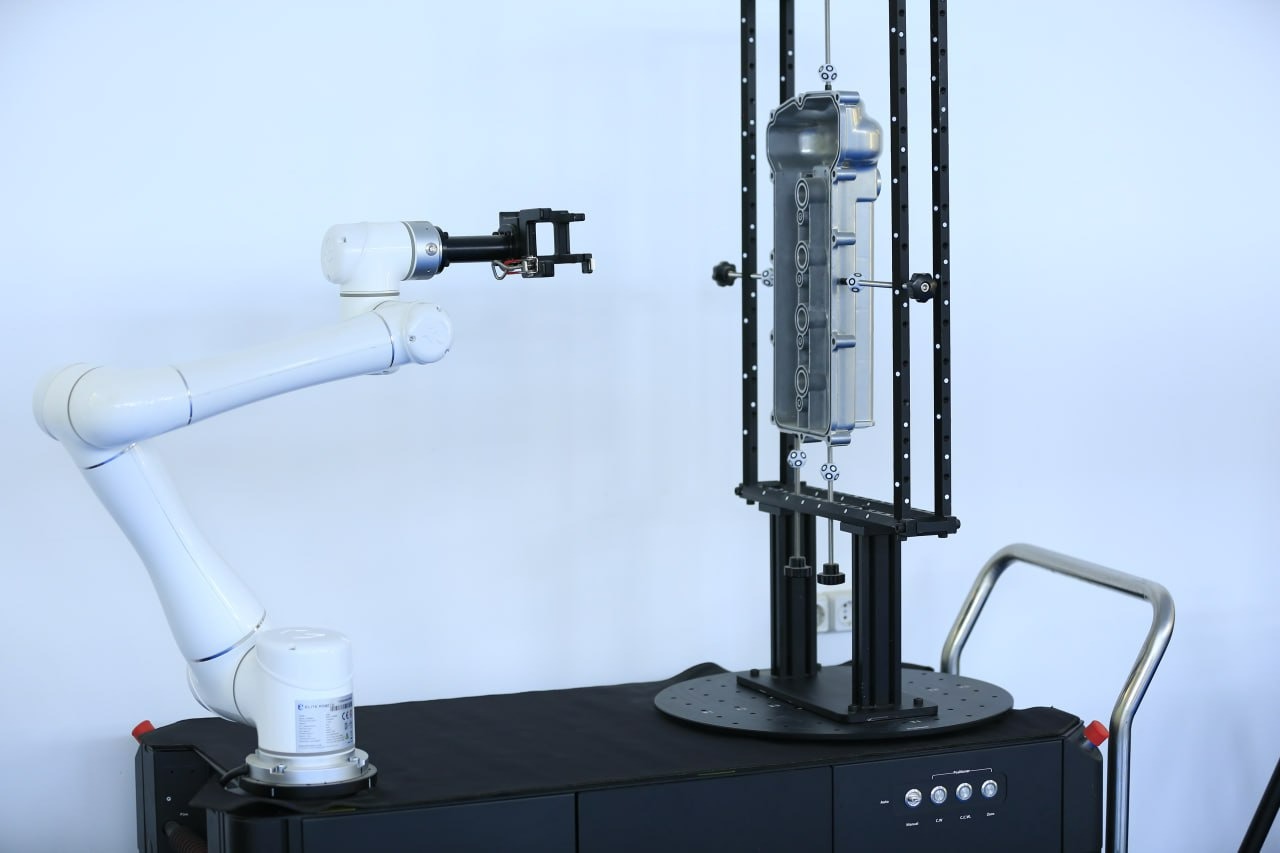
We focused on the innovative equipment installed at the MOF-3 project: 3D scanners Scantech Mscan-l15, TrackScan Sharp49 and Simscan42, as well as robotic stations Scantech AM-DESK 60120 and Scantech AM-CELL C200, which allow to significantly speed up production processes, improve their quality, dictating a new approach to the repair of complex equipment units. We talked about the new equipment with Bakhtiyor Khasanov, leading design engineer of the ULTRATEC department.

— Bakhtiyor, tell us more about this equipment.
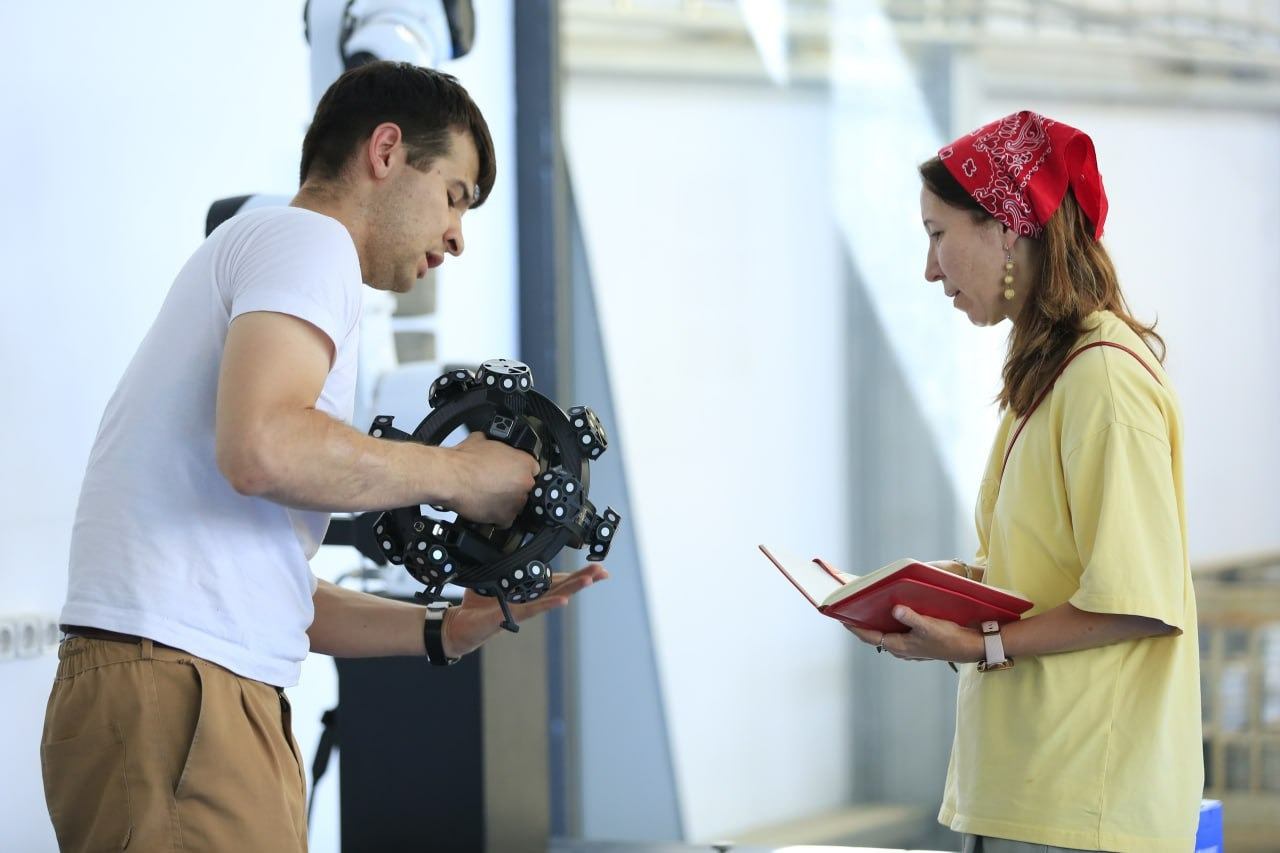
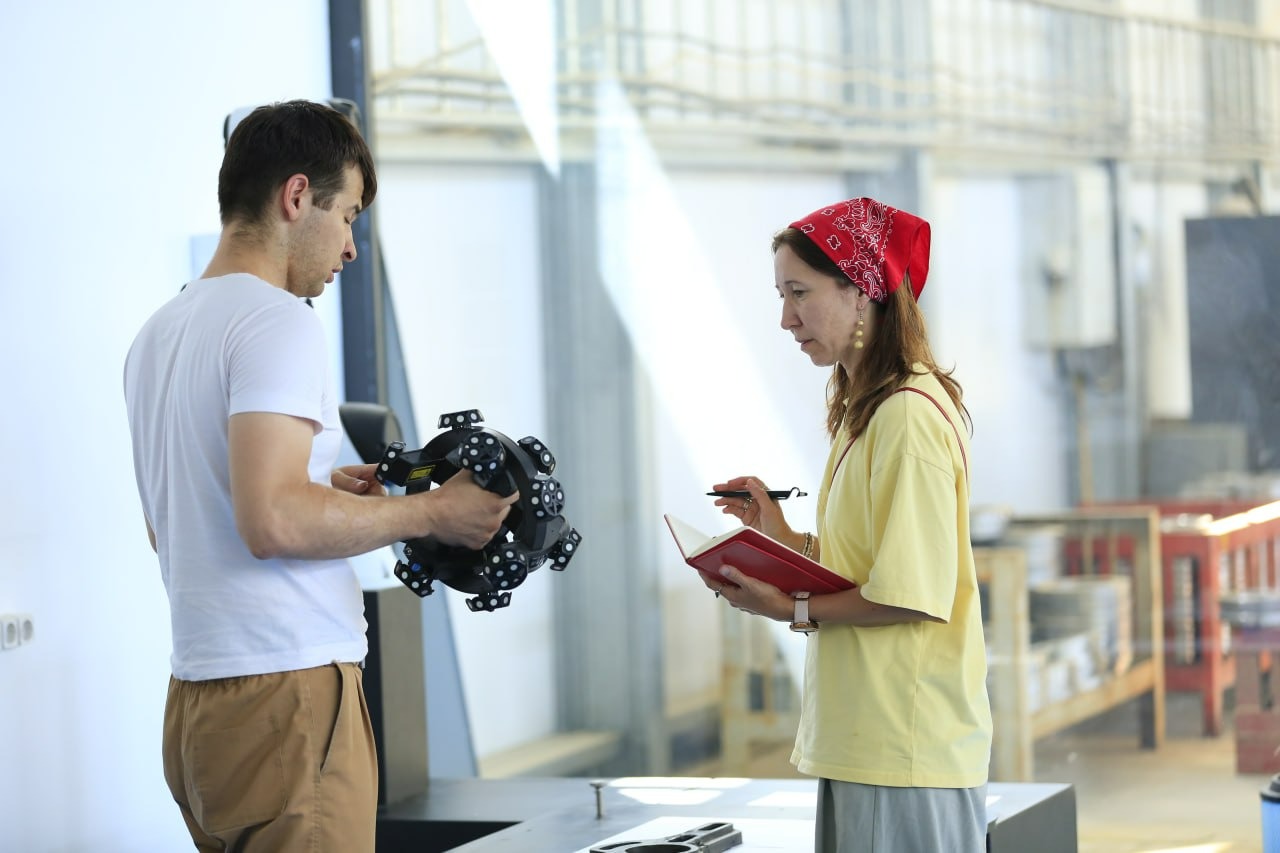
— Let's start with 3D scanners. Each of them performs specific tasks, depending on the required level of accuracy and the size of the object. Thus, Mscan-l15 uses photogrammetry to process parts on which the engineer places reflective markers in the form of dots. This technology provides highly accurate data on their location in space. The designers use the obtained data to obtain more accurate results using Simscan42. And using TrackScan Sharp49, we can take readings without placing markers on the products, since the system has a 3D tracker. This model allows us to scan large parts, for example, the size of a train car.

- What are robotic stations designed for?
- These are two robotic arms for different dimensions of scanned objects. As you can guess from their name, they take the dimensions of the part automatically. SimScan is installed on one of them, TrackScan on the other. The working table of the small robotic arm is designed to withstand parts weighing up to 75 kg, and the large one - weighing up to half a ton. The stations are able to analyze and rotate parts during scanning, but for each object it is necessary to write a separate program that will set the corresponding trajectory of the device. Therefore, this equipment is rarely used for individual items; we usually use them when it comes to serial production. In addition, this robotic control system replaces the metrology department, ensuring high accuracy of dimensional checking, identifying deviations from tolerances and providing a detailed report on the entire batch.

— What happens after the scanners have done their job?
— Scanners are not capable of independently constructing a 3D model; they use laser beams to take all the dimensions from the surfaces and enter them into a file. This file is transferred to the computer, after which the designer begins to process the received data in the Geomagic Design X program, creating a solid model that can be used to make drawings or to manufacture parts on CNC machines.

